How to draw Taiji and Bagua symbol with GLSL
See it live
I have implemented all these (plus some nice animation) at here
Now let's see how did I make it!
Make a Taiji
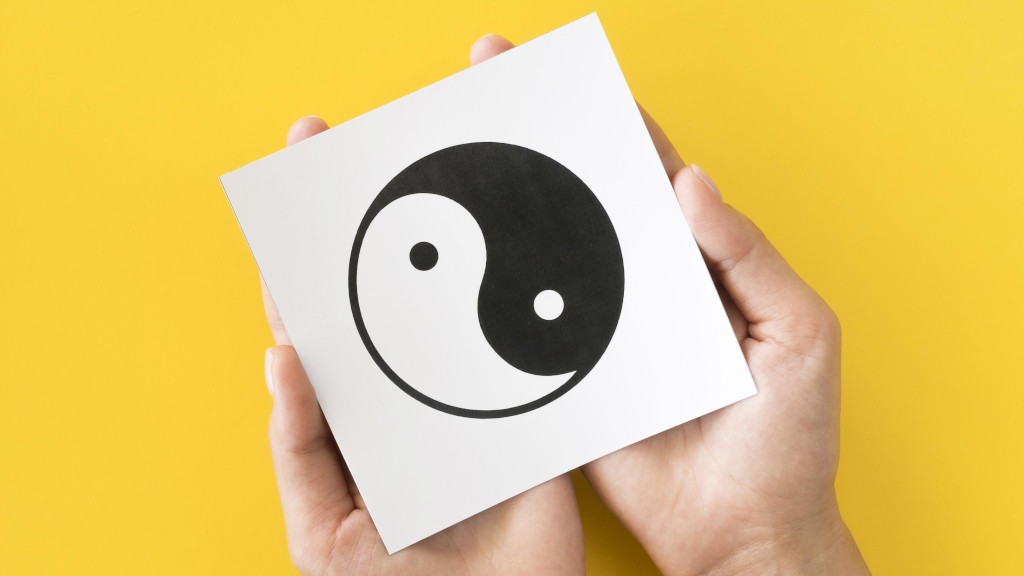
The term Taiji (太极) literally is "Supreme Ultimate", is a concept in Daoism. It's symbol consists of curves and circle, Taiji is understood to be the highest conceivable principle, that from which existence flows.
Draw a circle
To draw a circle, you first calculate the distance from the given pixel to the center. Then according to the distance, you set the pixel black or white. The following code fade a circle from the center all the way to the edge.
precision mediump float;

uniform vec2 u_resolution;
uniform float u_time;

void main() {
    vec2 uv = gl_FragCoord.xy/u_resolution.xy;
    uv = uv*2.0 - 1.0;
    const vec2 CENTER = vec2(0.0);
    float x = length(uv - CENTER);
    gl_FragColor = vec4(x, x, x, 1.0);
}

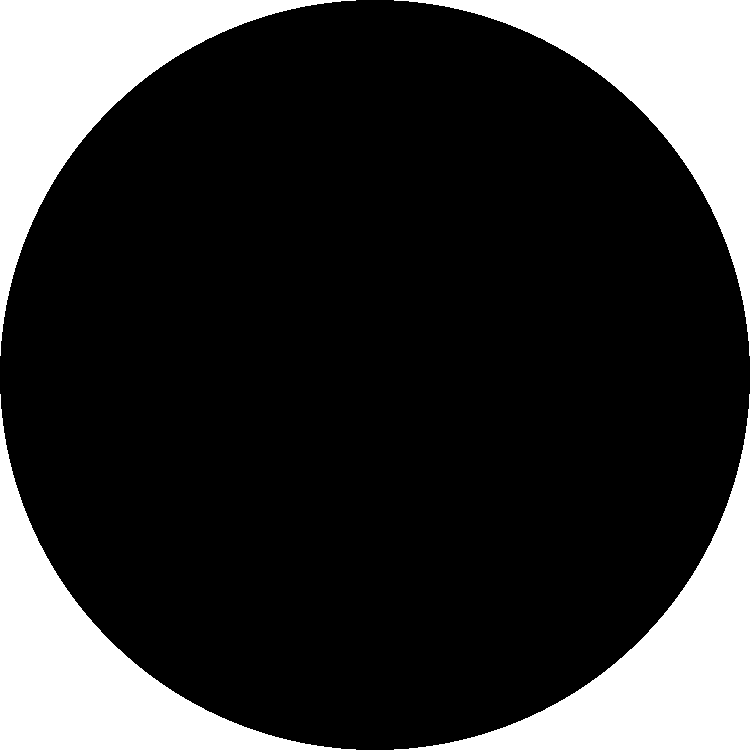
To make it "sharper" we need to apply absolute black on the inside, then absolute white to the outside. There is a function for that, it's step
// From now on, I will omit the upper part
void main() {
    vec2 uv = gl_FragCoord.xy/u_resolution.xy;
    uv = uv*2.0 - 1.0;
    const vec2 CENTER = vec2(0.0);
    const float RADIUS = 1.0;
    float d = length(uv - CENTER);
    float x = step(RADIUS, d);
    gl_FragColor = vec4(x, x, x, 1.0);
}
You will notice that the edge of our circle is aliased (aka. not smooth), there is a function for that, it's smoothstep. Simply replace step with smoothstep and give it 2 thresholds instead of 1
// before
float x1 = step(RADIUS, d);
// after
const float EPSILON = 0.01;
float x2 = smoothstep(RADIUS - EPSILON*0.5, RADIUS + EPSILON*0.5, d);
Make a macro for the circle
Writing these smoothstep can be tedious, I will make a macro for it
#define EPSILON 0.01
#define SMOOTH(t, x) smoothstep(t - EPSILON*0.5, t + EPSILON*0.5, x)
#define SMOOTHR(t, x) smoothstep(t + EPSILON*0.5, t - EPSILON*0.5, x)
#define WHITE_CIRCLE(r, o) SMOOTHR((r)*0.5, length(uv - o))
#define BLACK_CIRCLE(r, o) SMOOTH((r)*0.5, length(uv - o))

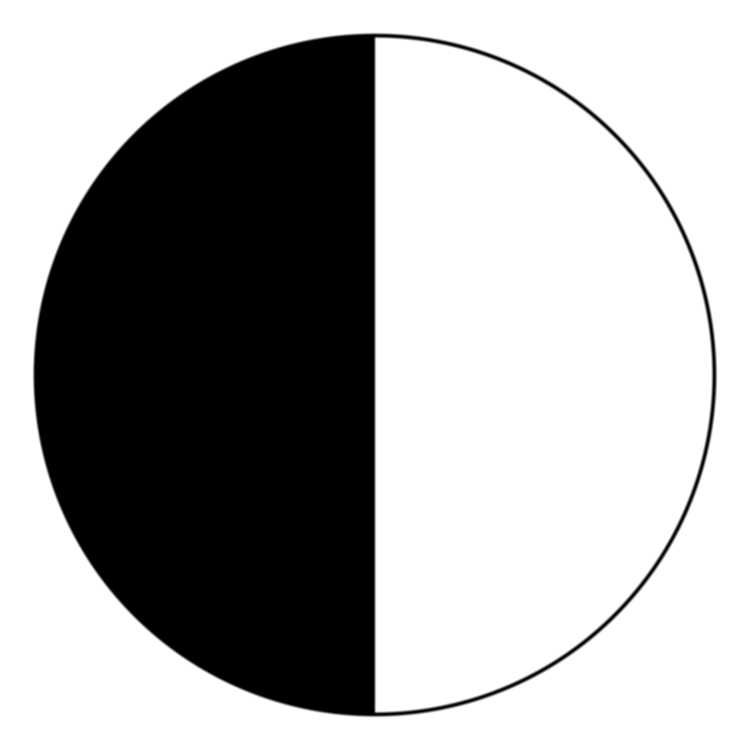
Make it half black, half white
Next step is to make the circle half-black, half-white, simply eliminate a half of the circle by using smoothstep with threshold at x = 0
#define BIG_CIRCLE_RADIUS 0.9
#define STROKE_WIDTH 0.02

const vec2 center = vec2(0.0);
float v = 0.0;
v += WHITE_CIRCLE(BIG_CIRCLE_RADIUS*2.0, center) * SMOOTH(0.0, uv.x);
v += BLACK_CIRCLE(BIG_CIRCLE_RADIUS*2.0 + STROKE_WIDTH, center);
gl_FragColor = vec4(v, v, v, 1.0);
Draw more circles
With the same logic, we can make 2 more circles at 2 different locations.
vec2 centerTop = center + vec2(0.0, BIG_CIRCLE_RADIUS/2.0);
vec2 centerBottom = center + vec2(0.0, -BIG_CIRCLE_RADIUS/2.0);
v += WHITE_CIRCLE(BIG_CIRCLE_RADIUS, centerTop);
v *= BLACK_CIRCLE(BIG_CIRCLE_RADIUS, centerBottom);
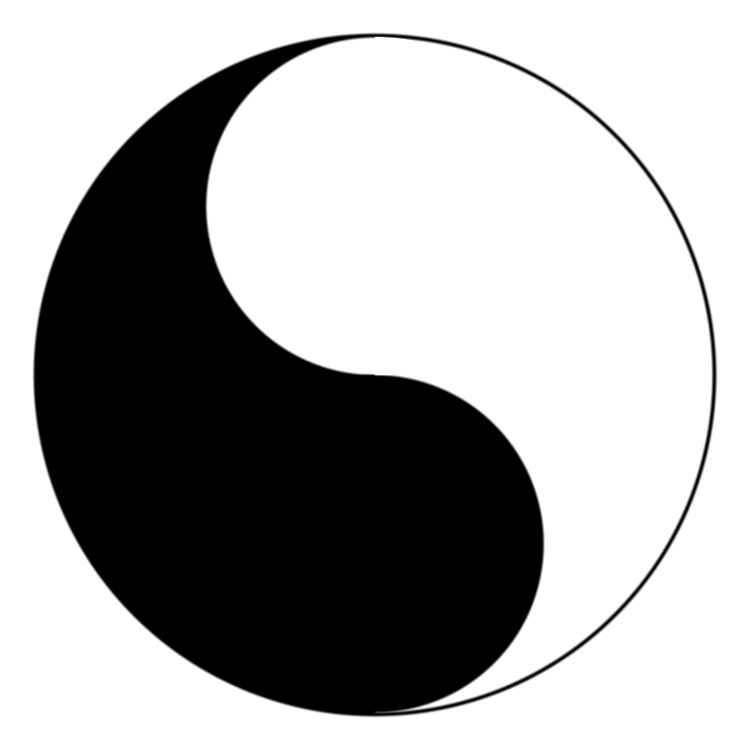 And finally, draw the dots
#define SMALL_CIRCLE_RADIUS 0.3
v += WHITE_CIRCLE(SMALL_CIRCLE_RADIUS, centerBottom);
v *= BLACK_CIRCLE(SMALL_CIRCLE_RADIUS, centerTop);
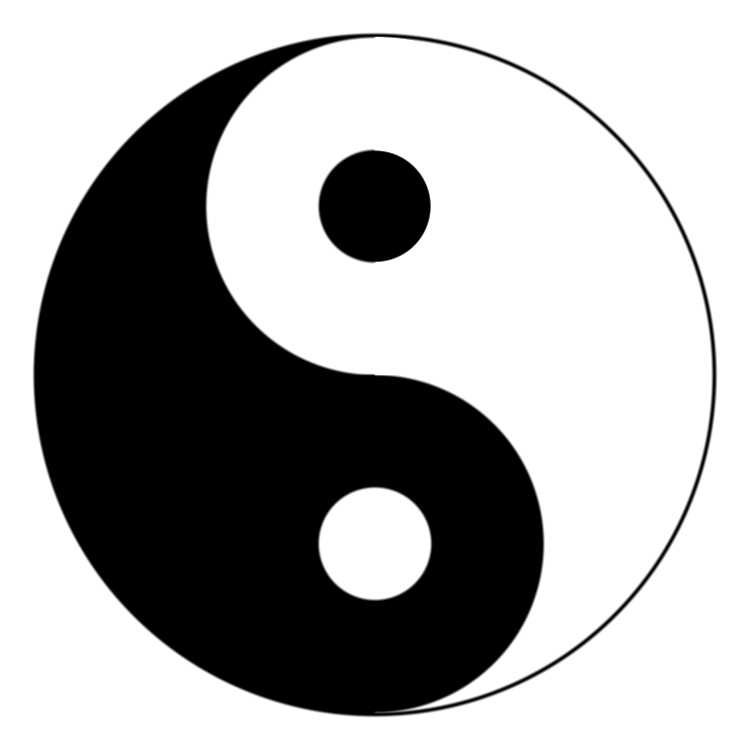 The code so far
#define SMOOTH(t, x) smoothstep(t - EPSILON*0.5, t + EPSILON*0.5, x)
#define SMOOTHR(t, x) smoothstep(t + EPSILON*0.5, t - EPSILON*0.5, x)
#define WHITE_CIRCLE(r, o) SMOOTHR((r)*0.5, length(uv - o))
#define BLACK_CIRCLE(r, o) SMOOTH((r)*0.5, length(uv - o))
#define BIG_CIRCLE_RADIUS 0.9
#define SMALL_CIRCLE_RADIUS 0.3
#define STROKE_WIDTH 0.02
#define EPSILON 0.01

precision mediump float;

uniform vec2 u_resolution;
uniform float u_time;

void main() {
    vec2 uv = gl_FragCoord.xy/u_resolution.xy;
    uv = uv*2. - 1.;
    const vec2 center = vec2(0.0);
    float v = 0.0;
    v += WHITE_CIRCLE(BIG_CIRCLE_RADIUS*2.0, center) * SMOOTH(0.0, uv.x);
    v += BLACK_CIRCLE(BIG_CIRCLE_RADIUS*2.0 + STROKE_WIDTH, center);
    vec2 centerTop = center + vec2(0.0, BIG_CIRCLE_RADIUS/2.0);
  	vec2 centerBottom = center + vec2(0.0, -BIG_CIRCLE_RADIUS/2.0);
  	v += WHITE_CIRCLE(BIG_CIRCLE_RADIUS, centerTop);
  	v *= BLACK_CIRCLE(BIG_CIRCLE_RADIUS, centerBottom);
    v += WHITE_CIRCLE(SMALL_CIRCLE_RADIUS, centerBottom);
    v *= BLACK_CIRCLE(SMALL_CIRCLE_RADIUS, centerTop);
    gl_FragColor = vec4(v, v, v, 1.0);
}
Make a Bagua
The math behind bagua
Bagua (八卦) is a Chinese concepts that is similar to binary counting system. Each stem on the circle representing a number. Each line on the stem representing a bit. Here is the 8 triagrams of bagua
| Triagram Figure | Binary Value | Decimal Value | Name | Meaning |
|---|---|---|---|---|
| ☰ | 111 | 7 | 乾/qián | Creative, (natural) force |
| ☱ | 110 | 6 | 兌/duì | Joyous, open (reflection) |
| ☲ | 101 | 5 | 離/lí | Clinging, radiance |
| ☳ | 100 | 4 | 震/zhèn | Arousing, shake |
| ☴ | 011 | 3 | 巽/xùn | Gentle, ground |
| ☵ | 010 | 2 | 坎/kǎn | Abysmal, gorge |
| ☶ | 001 | 1 | 艮/gèn | Keeping Still, bound |
| ☷ | 000 | 0 | 坤/kūn | Receptive, field |
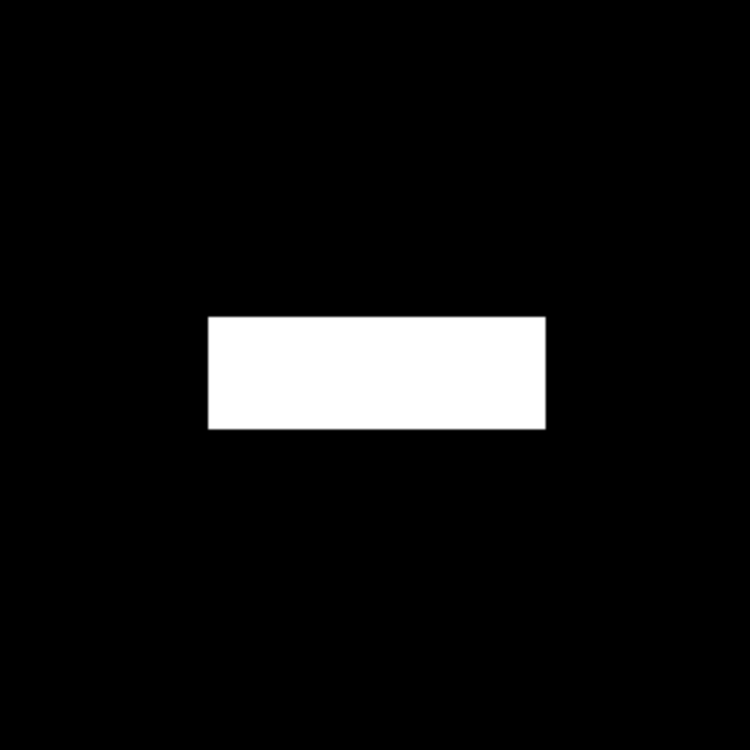
Draw a bar
To draw a bar (aka a rectangle), we make 2 boundaries on x and 2 boundaries on y then combine them. We use smoothstep just like in the previous section. The code would looks like this
#define EPSILON 0.01

precision mediump float;

uniform vec2 u_resolution;
uniform float u_time;

void main() {
    vec2 uv = gl_FragCoord.xy/u_resolution.xy;
    uv = uv*2. - 1.;
    float w = 0.9;
    float h = 0.3;
    float l = -w*0.5;
    float r = w*0.5;
    float u = -h*0.5;
    float d = h*0.5;
    float v = 0.0;
    v = smoothstep(l, l + EPSILON, uv.x) * smoothstep(r + EPSILON, r, uv.x)
        * smoothstep(u, u + EPSILON, uv.y) * smoothstep(d + EPSILON, d, uv.y);
    gl_FragColor = vec4(v, v, v, 1.0);
}
To make a disrupted bar, simply add a cut in the middle
float cut = w*0.1;
float cutL = cut*0.5;
float cutR = -cut*0.5;
v *= smoothstep(cutL, cutL + EPSILON, uv.x) + smoothstep(cutR + EPSILON, cutR, uv.x);

Again, to reduce the repetitiveness, I would like to make some macro
#define BAR_WIDTH 0.9
#define BAR_HEIGHT 0.3
#define BAR_MARGIN 0.1
#define CUT_WIDTH (BAR_WIDTH*0.1)
#define RANGE(l,r,x) smoothstep(l, l + EPSILON, x) * smoothstep(r + EPSILON, r, x)
#define RANGE_INVERT(l,r,x) smoothstep(l, l + EPSILON, x) + smoothstep(r + EPSILON, r, x)
Draw a triagrams (3 bars)
3 bars in the triagram represent 3 bits of it. For example, Triagram #6 is 110 in binary and has ☱ as its figure. The triagram has 2 connected bars and 1 disconnected bar. In general, the following function stem(x,uv) will draw triagram x
#define BIT_COUNT 3
#define BAR_WIDTH (PI/float(1<<BIT_COUNT))
#define BAR_HEIGHT 0.08
#define BAR_MARGIN 0.02
#define CUT_WIDTH (BAR_WIDTH*0.1)
float bar(int x, vec2 uv) {
    float ret = RANGE(-BAR_WIDTH*0.5, BAR_WIDTH*0.5, uv.x) *
        RANGE(-BAR_HEIGHT*0.5, BAR_HEIGHT*0.5, uv.y);
    if(x == 0) {
        ret *= RANGE_INVERT(CUT_WIDTH, -CUT_WIDTH, uv.x);
    }
    return ret;
}
float stem(int x, vec2 uv) {
    float ret = 0.0;
    for(int bit = 0;bit<BIT_COUNT;bit++) {
        int k = (x>>bit)&1;
        vec2 offset = vec2(0.0, CIRCLE_RADIUS*0.5+float(bit)*(BAR_HEIGHT+BAR_MARGIN));
        ret += bar(k, uv + offset);
    }
    return ret;
}
This is the result when you call stem(0) stem(1) stem(5) stem(7) respectively <small>
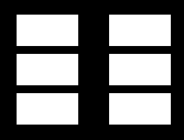
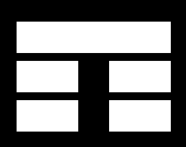
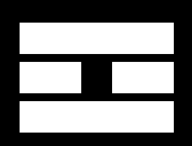
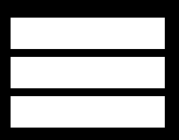
</small>
Draw 8 triagrams on a circle
This is the trickiest part. It took me some times to make it right. The plan is rotate the UV to create the illusion of circle. Our 8 triagrams will be evenly distributed on the edge of a circle. To do that we need a rotation matrix. If you are not familiar with matrix, you could always use elementary trigonometry to find destination of a vector rotate by angle.
mat2 rotateMat(float angle) {
    return mat2(cos(angle),-sin(angle),
                sin(angle),cos(angle));
}
To draw the Bagua, simply loop and check
#define PI2 6.28318530718
#define IMAGE_MARGIN 0.5
#define CIRCLE_RADIUS 1.1

uniform vec2 u_resolution;
uniform float u_time;

// bagua = stem x8
float bagua(vec2 uv) {
    int n = (1<<BIT_COUNT);
    float ret = 0.0;
    for(int i = 0;i<n;i++) {
        ret += stem(i, uv * rotateMat(float(i)*PI2/float(n)));
    }
    return ret;
}

void main() {
    vec2 uv = gl_FragCoord.xy/u_resolution.xy;
    uv = uv*2.0 - 1.0;
    // scale uv to fit the bagua
    uv *= CIRCLE_RADIUS+(BAR_HEIGHT+BAR_MARGIN)*float(BIT_COUNT*2)+IMAGE_MARGIN;
    float v = bagua(uv);
    gl_FragColor = vec4(v);
}
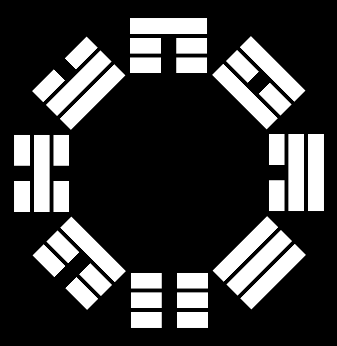 Final result would looks like this
Optimization
Loop inside a shader is expensive, we should avoid using it wherever possible. There are 2 loops inside bagua and stem function to check if a pixel is inside a symbol or not. Turn out we could do the check without the loops with some trigonometry. Here is the implementation.
float stem(int x, vec2 uv) {
    // eliminated a for loop, thanks https://www.shadertoy.com/user/FabriceNeyret2
    int bit = int(0.5 - ( uv.y + CIRCLE_RADIUS*0.5)/(BAR_HEIGHT+BAR_MARGIN));
    if(bit < 0 || bit >= BIT_COUNT) {
        return 0.0;
    }
    int k = (x>>bit)&1;
    vec2 offset = vec2(0.0, CIRCLE_RADIUS*0.5+float(bit)*(BAR_HEIGHT+BAR_MARGIN));
    return bar(k, uv + offset);
}

// bagua = stem x8
float bagua(vec2 uv) {
    // eliminated a for loop, thanks https://www.shadertoy.com/user/FabriceNeyret2
    int n = (1<<BIT_COUNT);
    float i = round(float(n)*(0.75 - atan(uv.y,uv.x)/PI2));
    return stem(int(i), uv * rotateMat(i*PI2/float(n)));
}
Final code for the Bagua
#define EPSILON 0.01
#define PI2 6.28318530718
#define IMAGE_MARGIN 0.5
#define BIT_COUNT 3
//#define BIT_COUNT (int(u_time/2.0)%4+2)
#define BAR_WIDTH (PI/float(1<<BIT_COUNT))
#define BAR_HEIGHT 0.08
#define BAR_MARGIN 0.02
#define CIRCLE_RADIUS 1.1
#define CUT_WIDTH (BAR_WIDTH*0.1)

#define RANGE(l,r,x) smoothstep(l, l + EPSILON, x) * smoothstep(r + EPSILON, r, x)
#define RANGE_INVERT(l,r,x) smoothstep(l, l + EPSILON, x) + smoothstep(r + EPSILON, r, x)

uniform vec2 u_resolution;
uniform float u_time;

mat2 rotateMat(float angle) {
    return mat2(cos(angle),-sin(angle),
                sin(angle),cos(angle));
}

float bar(int x, vec2 uv) {
    float ret = RANGE(-BAR_WIDTH*0.5, BAR_WIDTH*0.5, uv.x) *
        RANGE(-BAR_HEIGHT*0.5, BAR_HEIGHT*0.5, uv.y);
    if(x == 0) {
        ret *= RANGE_INVERT(CUT_WIDTH, -CUT_WIDTH, uv.x);
    }
    return ret;
}

// stem = bar x3
float stem(int x, vec2 uv) {
    // eliminated a for loop, thanks https://www.shadertoy.com/user/FabriceNeyret2
    int bit = int(0.5 - ( uv.y + CIRCLE_RADIUS*0.5)/(BAR_HEIGHT+BAR_MARGIN));
    if(bit < 0 || bit >= BIT_COUNT) {
        return 0.0;
    }
    int k = (x>>bit)&1;
    vec2 offset = vec2(0.0, CIRCLE_RADIUS*0.5+float(bit)*(BAR_HEIGHT+BAR_MARGIN));
    return bar(k, uv + offset);
}

// bagua = stem x8
float bagua(vec2 uv) {
    // eliminated a for loop, thanks https://www.shadertoy.com/user/FabriceNeyret2
    int n = (1<<BIT_COUNT);
    float i = round(float(n)*(0.75 - atan(uv.y,uv.x)/PI2));
    return stem(int(i), uv * rotateMat(i*PI2/float(n)));
}

void main() {
    vec2 uv = gl_FragCoord.xy/u_resolution.xy;
    uv = uv*2.0 - 1.0;
    // scale uv to fit the bagua
    uv *= CIRCLE_RADIUS+(BAR_HEIGHT+BAR_MARGIN)*float(BIT_COUNT*2)+IMAGE_MARGIN;

    float v = bagua(uv);
    gl_FragColor = vec4(v, v, v, 1.0);
}