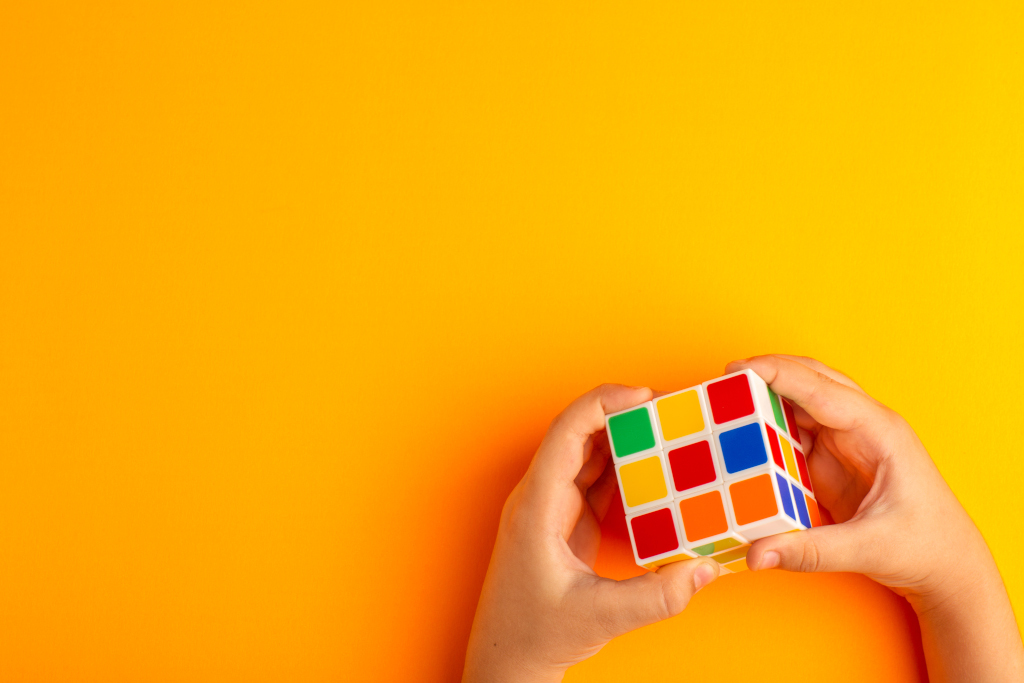
How Did I Build The Rubik's Cube

The Challenge
Building a 3D Rubik's Cube that can rotate realistically is more complex than it seems. The cube has possible combinations, making it one of the most fascinating puzzles ever created.
In this post, I'll show you how I built an animated Rubik's Cube using Three.js, breaking down the process into simple steps.
Step 1: Building a Single Cube
First, let's create one colorful cube. Each face needs its own color based on the Rubik's Cube color scheme.
// Create geometry and apply vertex colors
function makeSingleCube(x, y, z) {
  const geometry = new BoxGeometry().toNonIndexed();
  const faceCount = geometry.getAttribute("position").count / 6;
  const colors = [];

  // Color each face based on position
  for (let face = 0; face < faceCount; face++) {
    const color = new Color(getColor(x, y, z, face));
    // Each face has 6 vertices (2 triangles)
    for (let v = 0; v < 6; v++) {
      colors.push(color.r, color.g, color.b);
    }
  }

  geometry.setAttribute("color", new Float32BufferAttribute(colors, 3));
  return geometry;
}
The color scheme follows the standard Rubik's Cube:
- Right: Green
- Left: Blue
- Top: Yellow
- Bottom: White
- Front: Red
- Back: Orange
Step 2: Assembling the 3×3×3 Cube
Now we'll create 27 cubes arranged in a 3×3×3 grid. The key is maintaining proper spacing and storing references for rotation.
const CUBE_MARGIN = 0.1;  // Gap between cubes
const material = new MeshBasicMaterial({ vertexColors: true });

function makeRubik() {
  // Initialize 3D array to store cube references
  const cubes = Array(3).fill().map(() =>
    Array(3).fill().map(() => Array(3))
  );

  // Create and position each cube
  for (let x = 0; x < 3; x++) {
    for (let y = 0; y < 3; y++) {
      for (let z = 0; z < 3; z++) {
        const geometry = makeSingleCube(x, y, z);
        const cube = new Mesh(geometry, material);

        // Position with gap
        cube.position.set(
          x * (1 + CUBE_MARGIN),
          y * (1 + CUBE_MARGIN),
          z * (1 + CUBE_MARGIN)
        );

        cubes[x][y][z] = cube;
        scene.add(cube);
      }
    }
  }

  return cubes;
}
Step 3: The Rotation System
The trickiest part is implementing realistic rotations. A Rubik's Cube doesn't rotate individual pieces - entire layers move together.
graph LR
    A[Select Layer] --> B[Group Cubes]
    B --> C[Rotate Group]
    C --> D[Ungroup]
    D --> E[Update Positions]
Here's how the rotation implemented:
// Create pivot at cube center
const pivot = new Object3D();
const k = ((cubeNum - 1) / 2) * (1 + CUBE_MARGIN);
pivot.position.set(k, k, k);

function startMove(face, depth, magnitude) {
  // 1. Group cubes in the selected layer
  for (let x = 0; x < cubeNum; x++) {
    for (let y = 0; y < cubeNum; y++) {
      for (let z = 0; z < cubeNum; z++) {
        if (isInFace(x, y, z, face, depth)) {
          pivot.attach(cubes[x][y][z]);
        }
      }
    }
  }

  // 2. Calculate rotation target
  let target = { x: 0, y: 0, z: 0 };
  const angle = (Math.PI / 2) * magnitude;

  if (face === FACE_LEFT || face === FACE_RIGHT) {
    target.x = angle;
  } else if (face === FACE_TOP || face === FACE_BOTTOM) {
    target.y = angle;
  } else {
    target.z = angle;
  }

  // 3. Animate rotation
  animate({
    targets: pivot.rotation,
    ...target,
    duration: 600,
    easing: eases.linear,
    complete: cleanUpAfterMove
  });
}

function cleanUpAfterMove() {
  // 4. Ungroup and update positions
  const newCubes = Array.from(cubes);

  for (let i = pivot.children.length - 1; i >= 0; i--) {
    const cube = pivot.children[i];
    scene.attach(cube);

    // Get world position and snap to grid
    const pos = cube.getWorldPosition(new Vector3());
    const x = Math.round(pos.x / (1 + CUBE_MARGIN));
    const y = Math.round(pos.y / (1 + CUBE_MARGIN));
    const z = Math.round(pos.z / (1 + CUBE_MARGIN));

    // Update position and array reference
    cube.position.set(
      x * (1 + CUBE_MARGIN),
      y * (1 + CUBE_MARGIN),
      z * (1 + CUBE_MARGIN)
    );
    newCubes[x][y][z] = cube;
  }

  cubes = newCubes;
  pivot.rotation.set(0, 0, 0);
}
See it in action
Step 4: Adding Variations
Once the core mechanics work, you can experiment with different features:
Interactive Dimension Control
The same logic works for any NxNxN cube. Try adjusting the dimension with the slider below:
Complete Implementation
Learn more
Here is a Rust implementation of this scene. It is a bit more complex than this one but the idea still remains. See it live at here (/rubik-rs)